Showing posts with label Programs. Show all posts

Tuesday, September 10, 2013

Where in the World (Non-Fiction section) is Carmen San Diego (Melvil Dewey)


Okay, now that we've got that out of our systems...

I've been wanting to do a scavenger hunt in the non-fiction section for a long time. I just wasn't sure how it was going to work. Then I saw Miss Ingrid's post on how her library does a Melvil Dewey scavenger hunt and I loved it so much that I stole it wholesale, right down to the smokin' hot picture of Dewey (seriously, what a fox) and the glitter accents.

Ingrid (I read her blog enough that I feel like we're friends and totally on a first name basis) doesn't have prizes for her kids who play the Dewey game. Just the satisfaction of a job well done. Which I think is fantastic. BUT. We have so much crap  leftover summer reading prizes in our back room, including some Chipotle coupons that will expire at the end of the month, that I basically look for excuses to give kids stuff.

I've also really been wanting to have a non-fiction party. Now that the Common Core is really a thing, I think there are so many cool applications for Ripley's Believe It or Not, hands on science experiments and crafts drawn from our non-fiction section.

So with those two things in mind, I've tweaked Miss Ingrid's Melvil Hunt to fit our needs.


"Today I'm in the 400s, books about languages"


This is Melvil Dewey. He invented the Dewey Decimal system. Melvil hangs out on the easel on the back of the flannel board, near the children's desks on Saturdays. Each Saturday he hides in a different part of the non-fiction section, as indicated in his speech bubble. Anyone can come, check him out, grab one of the entry forms and a golf pencil, and head off to find good ol' Melvil. 


"Now see if you can find... How do you say hello in 3 languages?"


When they find the smaller Melvil, he's asking more specific, yet still open ended question about the section that he's hiding in, encouraging the kids to look through some of the books. And since I "laminated" this picture with packing tape, we can use it like a dry erase board to write and re-write the weekly question. The piece of paper that they answer the question on serves as a raffle entry- so they can answer the question as many times and in as many different ways as they like- and at the end of the day we draw for a bunch of prizes.


At the end of the semester we'll have a non-fiction party instead of a big to-do for the holidays. There will be trivia drawn from the cool facts that the kids supply us with through their answers, hands-on stations from featured Dewey sections (like an animal print identifying table! I just got really excited about that possibility, please excuse excessive use of exclamation marks) and the usual snacks and goodies that accompany a party. 

In October our library system is going to extended hours, and in conjunction with that, we're being asked to plan programming for both Saturday and Sunday (as well as story time every day, but that's a different story for a different time). As most librarians know, programming on Saturday is a tricky beast in that no one comes. Ever. And I imagine Sundays are even worse, with all the pressure to do neglected homework before Monday. A low-key, drop-in program like this seems to be just the ticket to complying with administrative edicts while still maintaining our sanity.  

Tuesday, August 6, 2013

Pacific Rhythm Dancers


We were lucky enough to welcome the family dance troupe Pacific Rhythm Dancers  to our library at the beginning of June to help kick off our summer reading program. Think the Von Trapp Family Singers if they were from new Zealand and not trying to outrun Nazis. The entire family, right down to their youngest, 3 year old son, entertains with traditional dances from several Polynesian islands while educating about Polynesian culture. There's a great audience participation factor and by the end everyone was swaying and bopping along. And at the end, after the coconut has been split if half with a grunt and a sharp rock, everyone goes outside where Mika, the patriarch, busts out some fire sticks and goes absolutely crazy with a Fire Knife dance from Samoa.


Our program drew mostly a pre-school set, although the older kids who had shown up for the computers quickly got on board, and everyone had an amazing time. I've heard kids talking about the dancers, especially the Fire Knife dance, in the month since they were here, and it was a really great introduction to a culture that doesn't really get a lot of coverage in school or pop culture.

So what did I do? I made a reading list for further exploration of Polynesian life.

 
Island of the Blue Dolphins
Oh favorite childhood book, it's nice to see you again. The last girl left on her island, Karana has to learn to fend for herself, survive and even thrive all by herself as she attempts to synthesize what she already knows and understands about her people's way of life into useful, practical information. It's a little like survival great Hatchet but with a girl protagonist and a sweet wolf-dog best friend.

 
Call It Courage

It's not okay to be the scaredy-cat of your seaside village, especially when your father is a chief renowned for his bravery. Unfortunately, Mafatu has been afraid of the ocean ever since his mother drowned when he was a small child. Determined to prove himself, Mafatu takes a big risk, makes some poor decisions and ends up in several impossible situations before he eventually finds out what courage actually means and is able to make his way home. Like Island of the Blue Dolphins, this book was written by a western man and supposedly based on actual myth. The "othering" of Polynesian culture is pretty rampant and troubling if you're reading with a critical eye. Still it's one of the classics of the genre; like Babar and the racist caricature islands he visits.

 
Kakapo Rescue: Saving the World's Strangest Parrot (Scientists in the Field Series)

Endangered species, sweet conservation technology, passionate individuals charged with a daunting mission, non-fiction can be totally edge-of-your-seat, thrill-a-minute and this book is a prime example. Plus, relly pretty pictures.   

And because there's not a whole lot to chose from, here are a few young adult and adult titles as well...

 
The Whale Rider

The movie based on the book made a big splash (PUN!) in the early 2000s and the book shares the same place building that the movie capitalized so well on. So many Polynesian books take on this view of the outsider looking in and Whale Rider is exceptional in how it makes Polynesian culture accessible to outsiders while still being written by and for insiders.

 
Guardian of the Dead

Body acceptance protagonist, asexual best friend, Maori legends come to life? There's a whole lot to unpack in Karen Healy's modern day fantasy, that weaves in Maori legends. I had a lot of trouble following plot strands, but it's an engaging and suspenseful read with a pretty dead-on mastery of atmosphere. Don't look to hard at the man behind the curtain and you'll be fine. It's notable in that Guardian of the Dead is the only book I know of that tries to translate Maori legends into contemporary YA and the fact that i find it so confusing could very well be due to my lack of background knowledge. 


Tuesday, July 16, 2013

Tutu Party

The last time I went to the fabric store I noticed that tulle was on sale for 1.49 a yard. And you know what that means? TUTU PARTY!

A lot of our story time girls love princesses and fancy dresses and when one mom in particular asked me if I knew where to get a cheap tutu for her little girl, I knew that a program of this type could go over really well. We try not to do distinctly gendered programs, so I was a little bit worried about this one. It's true, no boys showed up, but I was prepared to show any boy who seemed interested how to use the same techniques to make a lion's mane or warrior head dress if tutu's seemed just a bit too girly.

Supplies:
-scissors (prep)
-tulle
-thick ribbon for the waistband (we used a spool of Christmas decorating ribbon that was languishing in our craft closet and it worked perfectly)

Process:
I learned how to make tutu's using an internet tutorial ages ago- for the past 3 years my Halloween costumes have included a tutu element because, why not? I no longer remember where the original one is (bad librarian) but it's the same basic knot technique as this one. So refer to that in case my description gets confusing.

1) Cut the tulle
Cute the tulle into long strips, approximately twice as long as you want the tutu to be. Tulle can be tricky to work, especially cut, since it's so thin, but folding it makes it more manageable and fewer cuts are required.


2) Measure the waistband
We took the ribbon and wrapped it around each girl's midsection (or where ever she wanted the tutu to sit) then we added about 10 inches to each side. Tie knots where the ribbon meets. The ribbon on the outside will be the ties, while the ribbon on the inside is what we'll be working with.

3) Tie the tulle
Pick up a piece of tulle and fold it in half. Pull the ends of the tulle through the opening at the end, catching the ribbon in between so it creates a knot. At this point, please refer here where there are great pictures to help.


4) Take a quick break and tie some around your ponytail too, creating a fabulous head piece.


5) Repeat step three until the ribbon inside the knots is completely covered. 
You can pull the tulle tighter or looser depending on your preference and amount of tulle. The pulling the tulle closer together will make the tutu poufier, but also requires more material. 

6) Tie the tutu around your waist and strike a pose!
Note: This is where I really wish it was okay for me to put pictures of children on the internet without their knowledge/permission. Because while you can see exactly how cute their tutus turned out, you cannot see the looks of absolute JOY on their faces. And let me tell you, they were ecstatic. As one girl said "Girl, we look creative, you better know it!"


I greatly underestimated the interest in this program and therefore we ran out of tulle pretty quickly, leaving a few girls with unfinished tutus. I went back to the fabric store, restocked, and the next week we had materials available for kids to finish their tutus. A few little girls who had missed the first program were even able to make one with some help from the older girls!

While we didn't have time to do this, incorporating a tutu making session into a Fancy Nancy or Pinkalicious themed tea party/program would be a smash hit.

Tuesday, May 28, 2013

Get Caught Reading

The local elementary school is really lucky to have a school librarian (I mean seriously, last year they cut over half of the school librarian positions in our area and it's a minor miracle and a testament to the great work she does that Mrs. Z was spared). And we're lucky enough to have a good relationship with her. 

Mrs. Z, in conjunction with us, just started a program she's calling "GET CAUGHT READING." The name is reminiscent of summer reading a few years ago, but there are no fishhooks or underwater graphics for this program. Instead, when Mrs. Z sees a child reading during her day at the school, she gives them a coupon redeemable for a prize at our library.

We're about a month into GET CAUGHT READING and so far we've gotten about 12 kids in  to claim prizes. I would say 7 or 8 of them are our regular kids, ones we see every day, but at least 4 of them are kids I didn't know at all. I love that this program gives us face time with kids we wouldn't otherwise see. The coupon that Mrs. Z came up with includes the name of the book the child was caught reading so it gives us an easy way to begin a conversation and recommend similar things. While they're here they usually also take a second to look around and realize that we have movies(!) and computers with awesome games (!) and a lot of their friends (!). 

I also love this program because it gives us a chance to get rid of all of the old summer reading prizes languishing in our drawers. We have so many nightlights and book lights left over from Dream Big that I've been handing them out to everyone who signs up for a library card, and I've been considering giving them away on checkout. 


But this? This is way more fun. 

Tuesday, May 7, 2013

25 Days of Art: Gallery Show

25 Days of Art was such a special project. And by special, I mean overwhelming and completely creatively draining. Right now it's hard for me to think about what's next since I'm still recovering from a full art lesson a day for an entire month. Regardless of my exhaustion, I think the results speak for themselves. The kids produced some absolutely amazing art, and did so in ways that were new and special to them.

It seemed like a shame to let all of that fade away when April ended, so I spent a few days "curating" a show of the art that had been left behind. It went up yesterday, replacing the Baby Mouse wall, and will remain up for a month or so, just to remind the kids what they're capable of when they open themselves up to new experiences. 


Update: Over the past few weeks I've seen kids excitedly showing off their work to parents and friends, explaining in great detail how they created each piece. Story time parents love seeing examples of things they'll be able to do with their kiddos in a few years and we've been able to adapt a few of the projects into developmentally appropriate activities for after story time crafts.

Wednesday, May 1, 2013

25 Days of Art: Paper Beads

I don't personally wear a lot of jewelry, but one of my very favorite pieces that I do own and occasionally wear is a necklace made of magazine paper beads by my great grandmother a million years ago. The beads are tightly made, in only one style, but they are gorgeous and when I'm in need of a dangly accessory, it's my go to piece. When I decided to teach the kids how to make similar beads out of paper I was surprised to find that there are so many different ways to cut the initial strip of paper that then leads to differently shaped beads.


Supplies:
-magazines
-glue sticks
-yarn (for stringing)
-pipe cleaners

Prep:
Cut magazine pages into strips, the wider the strip, the wider the end bead will be. Cut the strips into different shapes for different shaped beads- rectangles will result in a long, uniform bead, triangles will result in a bead that tapers off on both ends. For further examples, see this picture.

Process:
Apply a generous amount of the glue stick to a magazine strip and begin to roll it around the pipe cleaner so that the glue is on the inside. Once you've got the entire strip rolled up and secured (you can add a little extra glue to the end just to be sure) slip the bead off the pipe cleaner and allow it to dry. Then you can string the beads onto yarn for


Miss Lucy's Example:


Kid Art:


Tuesday, April 30, 2013

25 Days of Art: Printing

When I did that big clean up of our back office earlier this year I found A LOT of printing supplies including carving tools, inks and brayers. I wasn't crazy about giving the kids sharp carving tools (I cut myself pretty frequently when I do linoleum carvings for myself so...) which is why I was excited to bring back the Styrofoam printing technique I used last year in the Dream Journals, this time with actual printing ink. And let me tell you, that ink made all the difference

Supplies:
-Styrofoam plates
-pencils
-ink (or paint will work if you don't have any)
-brayers (or foam brushes)
-paper

Prep:
Cut the lip off the plates so that they lay completely flat on the table.

Process:
Using the pencil, press a design into the Styrofoam. Keep in mind that you'll be getting a mirror image, so if you use words write them out backwards. When the design is done, use the brayer or foam brush to roll ink or paint onto the surface. It should just go over the top, not seeping into the depressed parts where you used the pencil. Flip the plate over and press onto a piece of paper. Use a seperate brayer (or your hands) to press the plate down hard, transferring the ink/paint from the plate onto the paper. Pull back carefully. Repeat with as many colors as you like!

Miss Lucy's Example:


Kid Art:


Saturday, April 27, 2013

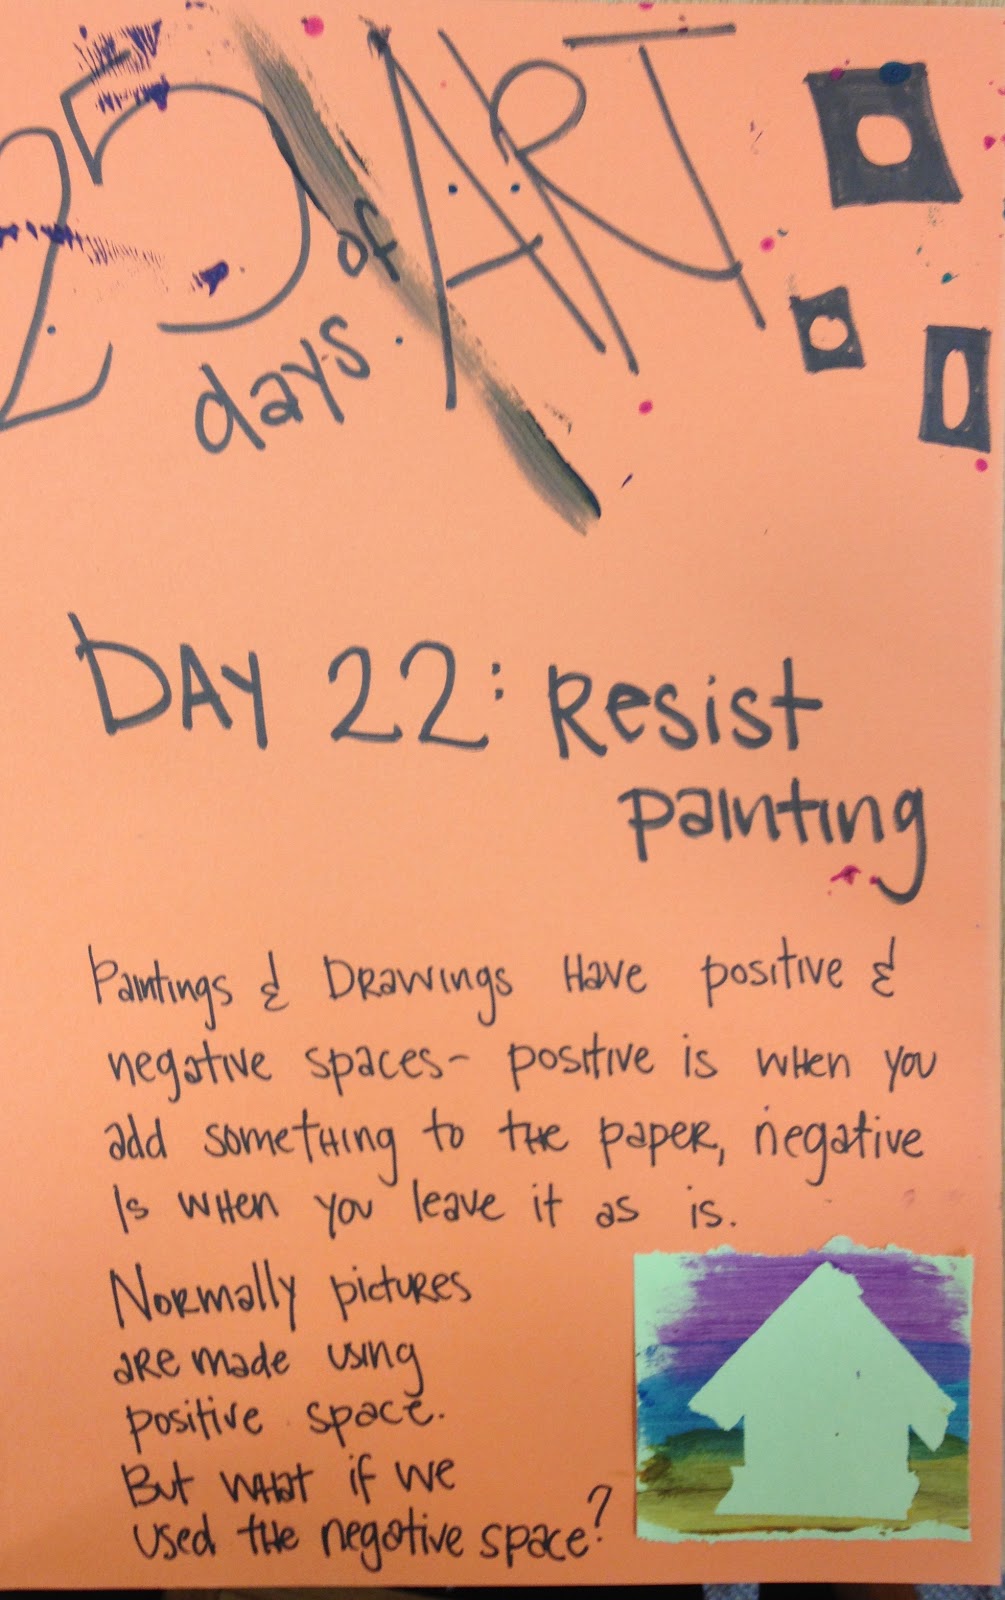
25 Days of Art: Resist Painting

If you have older kids this is a good project to talk about positive and negative space and if you have younger kids it combines a whole lot of awesome things- sticky tape, messy paint, and (kinda) taking apart already done work!


Supplies:
-painter's tape or masking tape
-construction paper
-paint/paint brushes


Prep:
NONE!

Process:
Have the kids lay out a design in tape on their piece of paper. It can be anything, even words. After they've taped up the page, paint over the tape. When the paint is completely dry, carefully peel the tape off the paper (it's easier to peel off of construction paper than computer paper) and check out the newly revealed picture!

Miss Lucy's Examples:


Kid Art: