Friday, May 31, 2013

Flannel Friday: The Cicadas are Coming

The cicadas are coming. I haven't seen any yet, but everyone tells me it's just a matter of time. I was pretty young the last time there was a big cicada season and I remember that they scared the bejesus out of me. The constant loud noises and the crunchy exoskeletons they left everywhere? I still get the shivers just thinking about it.

So I did what any rational person would do and I made a cicada flannel board for a story time about bugs. I think the end result is terrifying- cicadas should not be neon colors, but it also de-mystified the whole thing for the kids, and that's what it's really about. Also, I learned that cicadas had 5 eyes. How weird/cool is that?

We started with just a body...


And added the 6 legs, counting the whole time...


The two long upper wings for coverage...


And the two lower wings. Then we gave him the 2 big eyes on the sides of his head...


And the 3 small eyes in the middle. Then we laughed about what we would see if we had 5 eyes...


Finally we gave him his mouth sucker and made great slurping sounds to mimic how he would sound when he ate..

And just because we're not at all scared of this creepy crawly thing, we made him go away one piece at a time, Go Away Big Green Monster style.

Flannel Friday is hosted this week by Sarah at Read It Again! For more information on Flannel Friday, including where you can catch up on missed round-ups (I've been doing a lot of that lately) check out the official website.

Tuesday, May 28, 2013

Get Caught Reading

The local elementary school is really lucky to have a school librarian (I mean seriously, last year they cut over half of the school librarian positions in our area and it's a minor miracle and a testament to the great work she does that Mrs. Z was spared). And we're lucky enough to have a good relationship with her. 

Mrs. Z, in conjunction with us, just started a program she's calling "GET CAUGHT READING." The name is reminiscent of summer reading a few years ago, but there are no fishhooks or underwater graphics for this program. Instead, when Mrs. Z sees a child reading during her day at the school, she gives them a coupon redeemable for a prize at our library.

We're about a month into GET CAUGHT READING and so far we've gotten about 12 kids in  to claim prizes. I would say 7 or 8 of them are our regular kids, ones we see every day, but at least 4 of them are kids I didn't know at all. I love that this program gives us face time with kids we wouldn't otherwise see. The coupon that Mrs. Z came up with includes the name of the book the child was caught reading so it gives us an easy way to begin a conversation and recommend similar things. While they're here they usually also take a second to look around and realize that we have movies(!) and computers with awesome games (!) and a lot of their friends (!). 

I also love this program because it gives us a chance to get rid of all of the old summer reading prizes languishing in our drawers. We have so many nightlights and book lights left over from Dream Big that I've been handing them out to everyone who signs up for a library card, and I've been considering giving them away on checkout. 


But this? This is way more fun. 

Tuesday, May 7, 2013

25 Days of Art: Gallery Show

25 Days of Art was such a special project. And by special, I mean overwhelming and completely creatively draining. Right now it's hard for me to think about what's next since I'm still recovering from a full art lesson a day for an entire month. Regardless of my exhaustion, I think the results speak for themselves. The kids produced some absolutely amazing art, and did so in ways that were new and special to them.

It seemed like a shame to let all of that fade away when April ended, so I spent a few days "curating" a show of the art that had been left behind. It went up yesterday, replacing the Baby Mouse wall, and will remain up for a month or so, just to remind the kids what they're capable of when they open themselves up to new experiences. 


Update: Over the past few weeks I've seen kids excitedly showing off their work to parents and friends, explaining in great detail how they created each piece. Story time parents love seeing examples of things they'll be able to do with their kiddos in a few years and we've been able to adapt a few of the projects into developmentally appropriate activities for after story time crafts.

Wednesday, May 1, 2013

25 Days of Art: Paper Beads

I don't personally wear a lot of jewelry, but one of my very favorite pieces that I do own and occasionally wear is a necklace made of magazine paper beads by my great grandmother a million years ago. The beads are tightly made, in only one style, but they are gorgeous and when I'm in need of a dangly accessory, it's my go to piece. When I decided to teach the kids how to make similar beads out of paper I was surprised to find that there are so many different ways to cut the initial strip of paper that then leads to differently shaped beads.


Supplies:
-magazines
-glue sticks
-yarn (for stringing)
-pipe cleaners

Prep:
Cut magazine pages into strips, the wider the strip, the wider the end bead will be. Cut the strips into different shapes for different shaped beads- rectangles will result in a long, uniform bead, triangles will result in a bead that tapers off on both ends. For further examples, see this picture.

Process:
Apply a generous amount of the glue stick to a magazine strip and begin to roll it around the pipe cleaner so that the glue is on the inside. Once you've got the entire strip rolled up and secured (you can add a little extra glue to the end just to be sure) slip the bead off the pipe cleaner and allow it to dry. Then you can string the beads onto yarn for


Miss Lucy's Example:


Kid Art:


Tuesday, April 30, 2013

25 Days of Art: Printing

When I did that big clean up of our back office earlier this year I found A LOT of printing supplies including carving tools, inks and brayers. I wasn't crazy about giving the kids sharp carving tools (I cut myself pretty frequently when I do linoleum carvings for myself so...) which is why I was excited to bring back the Styrofoam printing technique I used last year in the Dream Journals, this time with actual printing ink. And let me tell you, that ink made all the difference

Supplies:
-Styrofoam plates
-pencils
-ink (or paint will work if you don't have any)
-brayers (or foam brushes)
-paper

Prep:
Cut the lip off the plates so that they lay completely flat on the table.

Process:
Using the pencil, press a design into the Styrofoam. Keep in mind that you'll be getting a mirror image, so if you use words write them out backwards. When the design is done, use the brayer or foam brush to roll ink or paint onto the surface. It should just go over the top, not seeping into the depressed parts where you used the pencil. Flip the plate over and press onto a piece of paper. Use a seperate brayer (or your hands) to press the plate down hard, transferring the ink/paint from the plate onto the paper. Pull back carefully. Repeat with as many colors as you like!

Miss Lucy's Example:


Kid Art:


Saturday, April 27, 2013

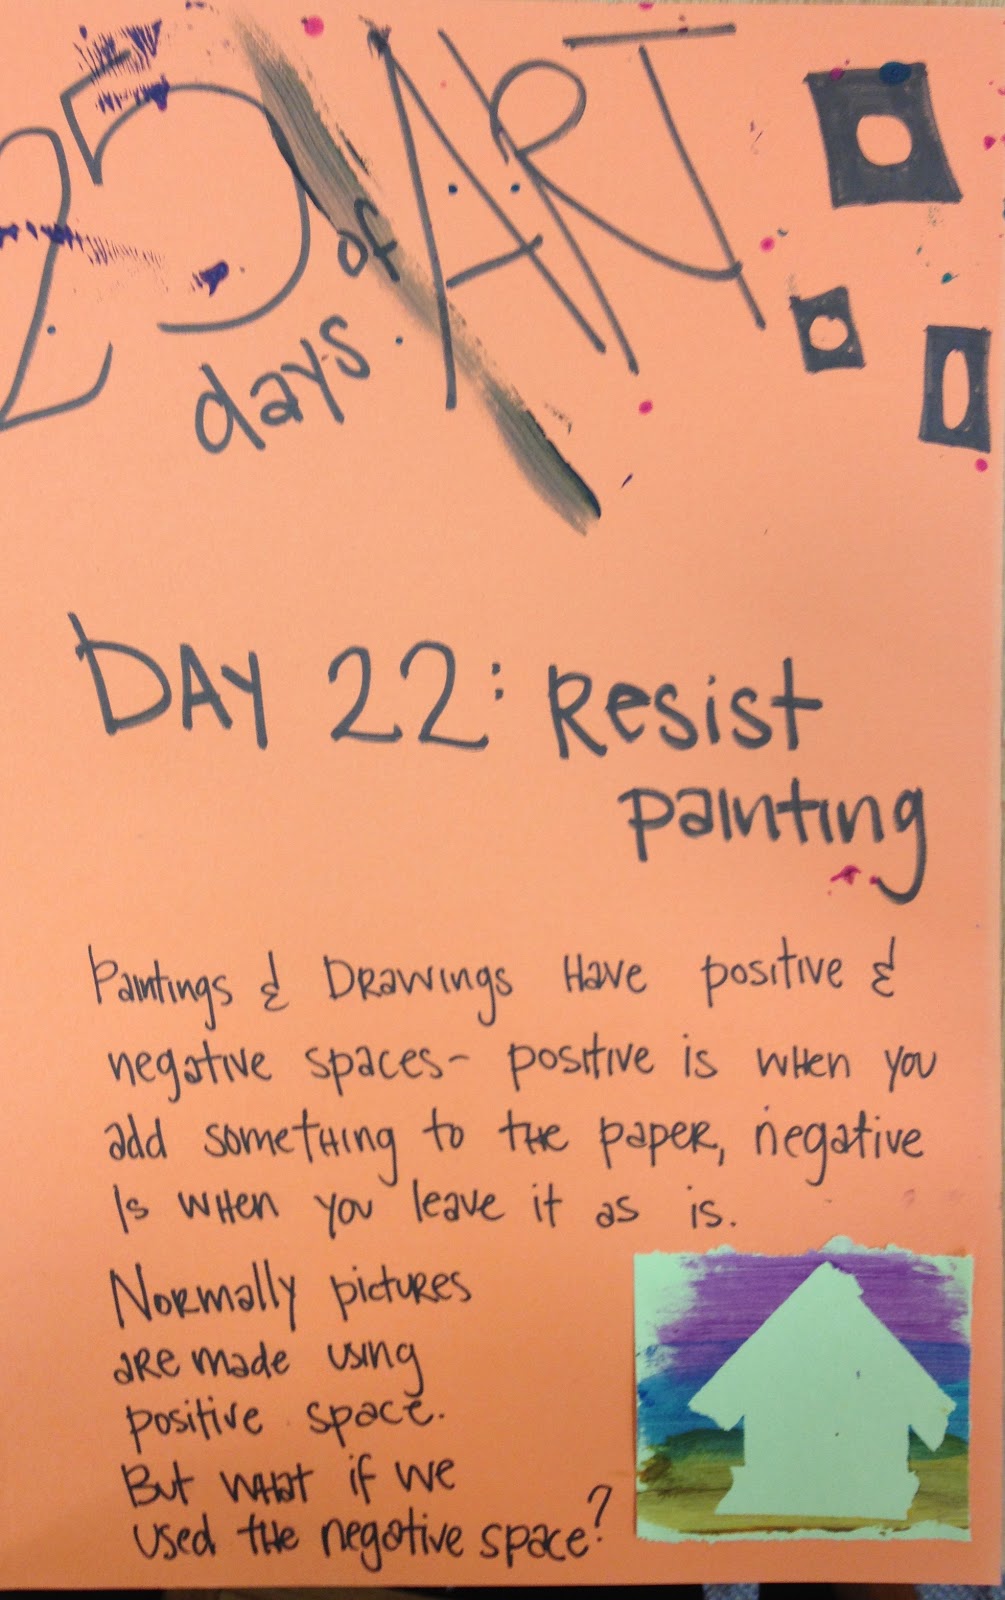
25 Days of Art: Resist Painting

If you have older kids this is a good project to talk about positive and negative space and if you have younger kids it combines a whole lot of awesome things- sticky tape, messy paint, and (kinda) taking apart already done work!


Supplies:
-painter's tape or masking tape
-construction paper
-paint/paint brushes


Prep:
NONE!

Process:
Have the kids lay out a design in tape on their piece of paper. It can be anything, even words. After they've taped up the page, paint over the tape. When the paint is completely dry, carefully peel the tape off the paper (it's easier to peel off of construction paper than computer paper) and check out the newly revealed picture!

Miss Lucy's Examples:


Kid Art:


Wednesday, April 24, 2013

25 Days of Art: Seurat with Q-Tips

Pointillism is an off shoot of the impressionist movement that uses tiny dots of color to create bigger images. Kind of like magic eyes, when you get up real close it's nothing but dots, but step back further and you can see the painting for what it really is. Another one of those "the whole is more than a sum of its parts" type of project. 


Supplies:
-q tips
-paper
-paint

Prep:
Put out the paint
.
Process:
Using q tips, paint pictures using dots instead of brush strokes.

Miss Lucy's Example:


Kid Art:


Bibliography:
Librarians know about pointillism now because it plays a major role in Newbery Award Winner Rebecca Stead's latest book, Liar and Spy.

Liar & Spy by Rebecca Stead