Tuesday, April 30, 2013

25 Days of Art: Printing

When I did that big clean up of our back office earlier this year I found A LOT of printing supplies including carving tools, inks and brayers. I wasn't crazy about giving the kids sharp carving tools (I cut myself pretty frequently when I do linoleum carvings for myself so...) which is why I was excited to bring back the Styrofoam printing technique I used last year in the Dream Journals, this time with actual printing ink. And let me tell you, that ink made all the difference

Supplies:
-Styrofoam plates
-pencils
-ink (or paint will work if you don't have any)
-brayers (or foam brushes)
-paper

Prep:
Cut the lip off the plates so that they lay completely flat on the table.

Process:
Using the pencil, press a design into the Styrofoam. Keep in mind that you'll be getting a mirror image, so if you use words write them out backwards. When the design is done, use the brayer or foam brush to roll ink or paint onto the surface. It should just go over the top, not seeping into the depressed parts where you used the pencil. Flip the plate over and press onto a piece of paper. Use a seperate brayer (or your hands) to press the plate down hard, transferring the ink/paint from the plate onto the paper. Pull back carefully. Repeat with as many colors as you like!

Miss Lucy's Example:


Kid Art:


Saturday, April 27, 2013

25 Days of Art: Resist Painting

If you have older kids this is a good project to talk about positive and negative space and if you have younger kids it combines a whole lot of awesome things- sticky tape, messy paint, and (kinda) taking apart already done work!


Supplies:
-painter's tape or masking tape
-construction paper
-paint/paint brushes


Prep:
NONE!

Process:
Have the kids lay out a design in tape on their piece of paper. It can be anything, even words. After they've taped up the page, paint over the tape. When the paint is completely dry, carefully peel the tape off the paper (it's easier to peel off of construction paper than computer paper) and check out the newly revealed picture!

Miss Lucy's Examples:


Kid Art:


Wednesday, April 24, 2013

25 Days of Art: Seurat with Q-Tips

Pointillism is an off shoot of the impressionist movement that uses tiny dots of color to create bigger images. Kind of like magic eyes, when you get up real close it's nothing but dots, but step back further and you can see the painting for what it really is. Another one of those "the whole is more than a sum of its parts" type of project. 


Supplies:
-q tips
-paper
-paint

Prep:
Put out the paint
.
Process:
Using q tips, paint pictures using dots instead of brush strokes.

Miss Lucy's Example:


Kid Art:


Bibliography:
Librarians know about pointillism now because it plays a major role in Newbery Award Winner Rebecca Stead's latest book, Liar and Spy.

Liar & Spy by Rebecca Stead

Tuesday, April 23, 2013

25 Days of Art: Earth Day Break

Happy Earth Day! We took a break from art projects yesterday and planted seeds in honor of Earth Day.  I chose seeds that are easy to grow, and we planted a few extras so if everything goes according to plan, there'll be a small tasting garden in the library this spring to coincide with the Dig Into Reading theme of Summer Reading.


Supplies:
-egg cartons
-seeds
-potting soil
-water
-popsicle sticks
-markers

Prep:
Cut the egg cartons so that two (or however many mini-planters you want) pieces are still attatched. Fill each hole with a little bit of dirt and wet it well. Take seeds out of their packets and place them either in cups or on plates, somewhere easily accessible. 

Process:
Plant according to the directions on the packet. I like to out seeds on top of dirt and then sprinkle the appropriate amount of dirt on top, rather than making a hold with my finger, but it's really up to the individual planter. Using the popsicle sticks and markers, label what went into each egg carton and the name of the kid who will take it home. Give instructions on watering and sunlight (usually found on the packet).


Monday, April 22, 2013

25 Days of Art: Reflections

I was gone on this day, leaving my invaluable co-worker Ms. E to run the show. There aren't quite as many pictures as usual, but it was still a fun and simple drawing exercise.


Supplies:
-paper
-drawing instruments

Prep:
NONE!

Process:
There are several ways to do this. My favorite is to fold a piece of paper in half and draw a picture. it can be half of a picture, like the ones below, or it can be a full blown production on half of the page. Then, unfold the piece of paper and carefully try to draw the exact same thing on the other half of the paper. It's an exercise in really looking and drawing what you see, not what you expect to see. It's not the most splashy or the most fun, but it's one of the simple art exercises that can really help make your work look better, especially if you're trying to draw realistically. 

Ms. E Art:


Kid Art:


Saturday, April 20, 2013

25 Days of Art: Grid Enlargements

The only time I ever enjoyed math class was for one week in 6th grade when we got to draw.  Mr. I Don't Remember His Name was teaching us ratio through grid enlargements. So there was some math relevancy, but really we just got to draw and color for days. I spent my week meticulously recreating a Foxtrot panel. I was very pleased with the result. Mr. I Don't Remember His Name gave me a 93. I do remember that.


Grid enlargements are awesome because everyone can be good at them and produce art that looks like the source with relative ease. A lot of the time during the 25 Days, I'd hear kids be vocally discouraged when their art didn't look like my example. It's hard getting someone to believe that there's no such thing as bad art, just unpracticed or in the process to becoming good. I definitely didn't believe it when I was their age .

Supplies:
-paper
-glue (prep)
-source materials (comics work the best, in my opinion)
-sharpies (prep)
-ruler (prep)
-grid/graph paper (I used 1 inch squares)

Prep: 
It depends on how much you want to do and how much you want the kids to do. If you've got older kids and actually do want them to learn ratios then they can help with this part. Copy a single panel from a comic book (I used 3- an easy one a medium one and a hard one). Using the ruler and sharpie draw a grid over the copied image. I went with 1/2 inch squares. Count how many squares go up and across your image (the one below is 5x5) and cut out an equivalent square of the larger graph paper and glue them both to the same sheet of paper.


Process:

Using pencil or pen, carefully copy the lines in each square into the corresponding square in the larger grid. DON'T look at the whole picture and try to copy it. Take it square by square, if you need to use scrap paper to cover up the rest of the original image, do it.
You'll end up with an enlarged drawing (if you use my measurements, it's exactly twice as large), that looks just like the original. The whole is more than the sum of its parts.

Miss Lucy's Example:


Kid (And Branch Manager) Art:


Bibliography:

I copied the images from:

The Lost Scrolls: Fire (Avatar: the Last Airbender) by Tom Mason and Dan Danko (hard)
Babymouse #1: Queen of the World! by Jennifer and Matt Holm (medium)
Monkey vs. Robot by James Kochalka (easy) 

Thursday, April 18, 2013

25 Days of Art: Jackson Pollack

Once upon a time there was a movie called The Princess Diaries. Now this movie is notable for 3 things: It introduced the world to a young, fresh faced Anne Hathaway, it was based on a much superior series of books by Meg Cabot and there's a scene where characters throw darts at paint filled balloons.And ever since I saw a mother and daughter pair throwing darts at paint filled balloons in their unrealistically spacious San Fransisco loft, it has been my dream to do the same. Well, today is that day my friends. Today we went full Mia Thermopolis.


There were actually two projects for Jackson Pollack day. Let's start with the easier, cleaner one that really does produce Pollack-like paintings.

Marble in a Box

Supplies:
-marbles (I couldn't find marbles so I used bouncy balls. Basically anything small and round)
-shoeboxes
-paint
-paper

Prep:
Zip

Process: 
Lay a piece to paper in the shoe box or shoe box lid. Dip a marble in paint and then put it in the box. Move the box around, allowing the marble to trail paint all over the paper. Repeat with different colors or see what happens when you put multiple paint covered marbles in at a time.


Miss Lucy's Example:


Kid Art:


And now the good stuff, the stuff you've been waiting for...
 
Paint Darts!

Supplies:
-butcher paper
-balloons
-paint
-darts
-tape
-tables

Prep:
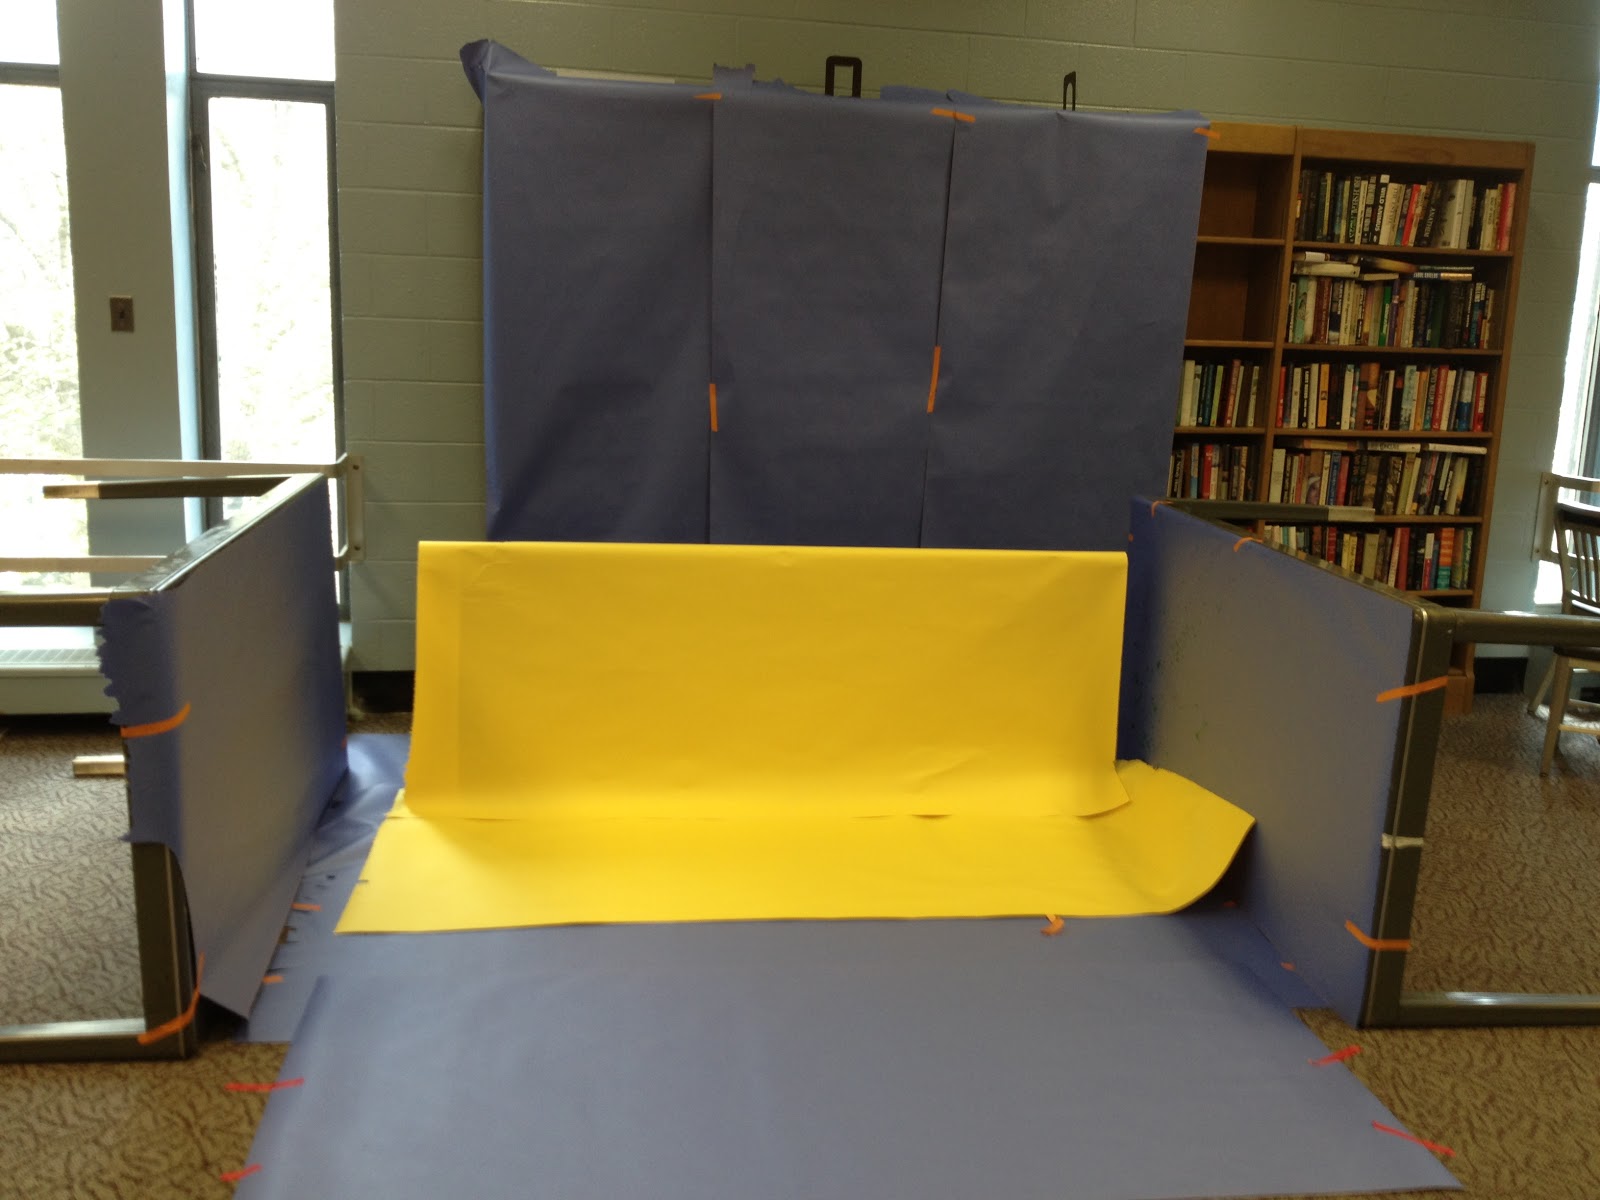
Let me say right now, do this outside if at all possible. We were short staffed this day so I did it in a back room where I could still be available to patrons if needed for reference or reader's advisory.

Set up a blast zone. I made mind by covering book shelves and the floor with long pieces of butcher paper. I turned two heavy tables on their sides and covered them with butcher paper too. I turned a final, folding table, on its side, covered it in paper and out it between the two other tables. This is our easel.

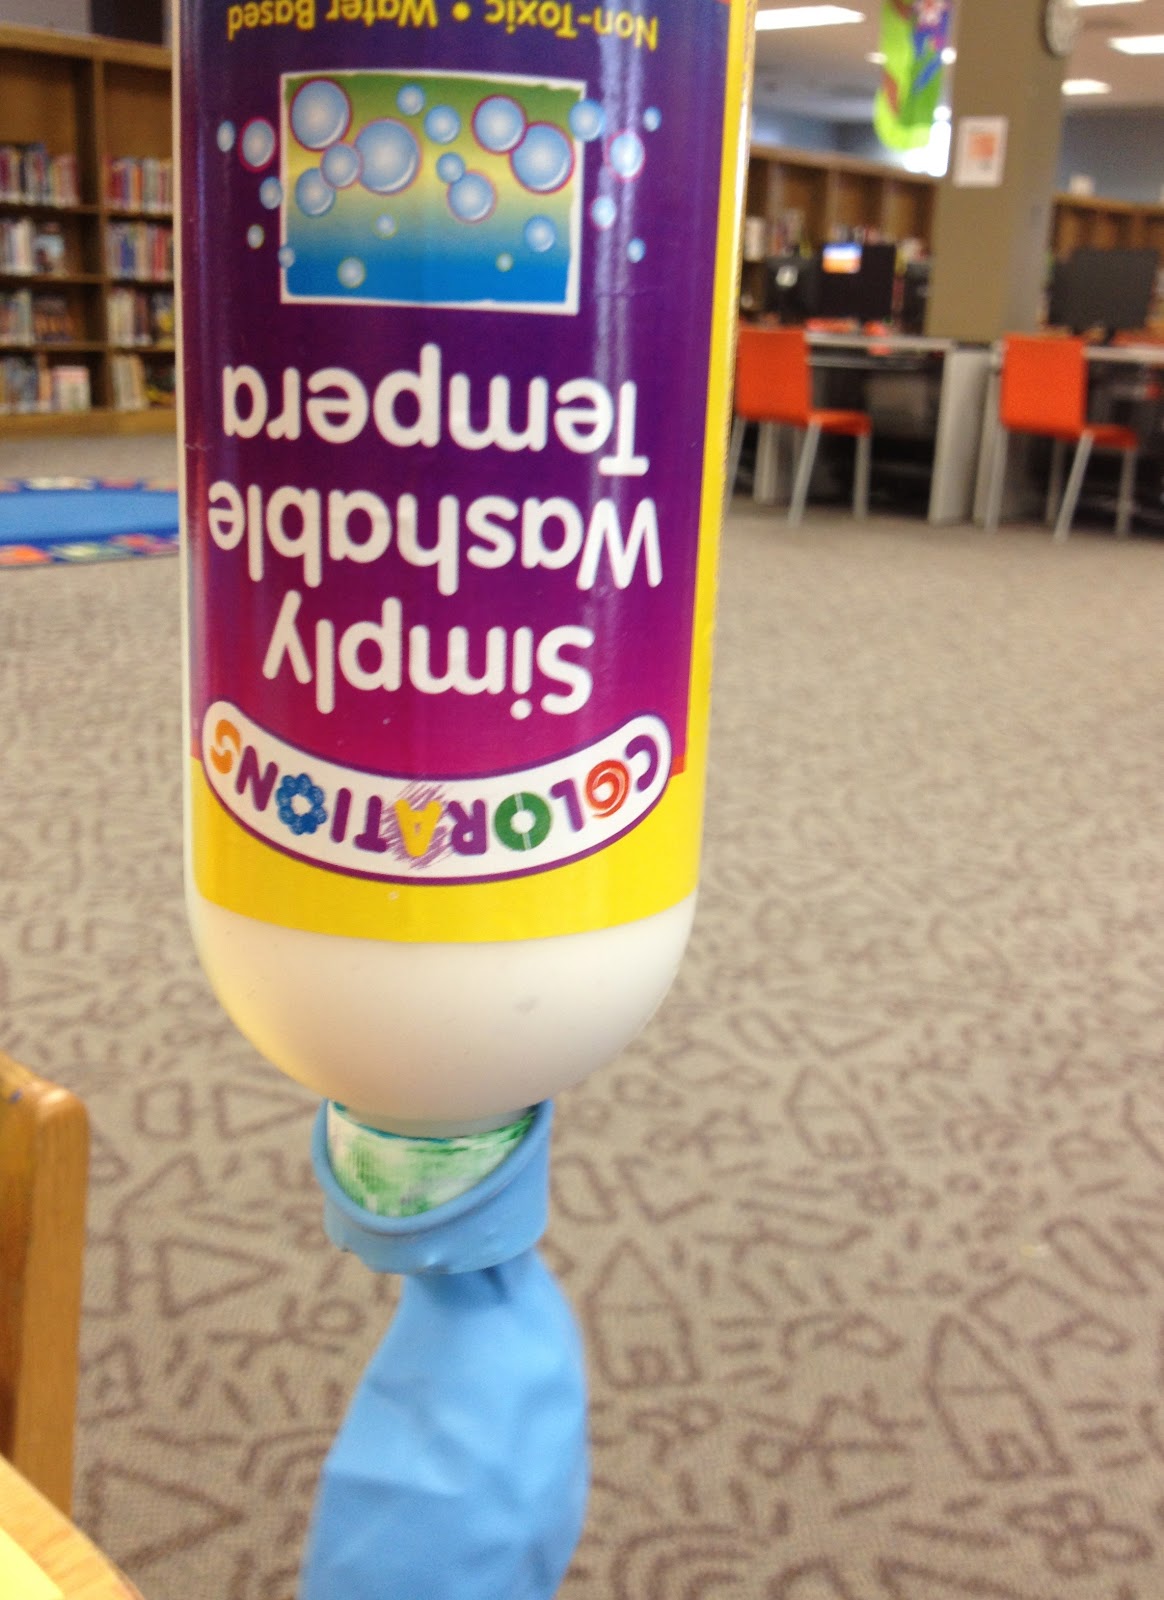
Fill balloons with paint. The best way I figured to do this is toput the entire balloon mouth around the squeezy end of a paint bottle and squeeze a little paint into the balloon. Experiement with how much paint you put in each balloon. When you take the balloon off the mouth of the bottle try to roll the mouth to the outside. This make it less likely that paint will get on the very end of the balloon and thusly in your mouth. Blow up the balloons. You will get paint around your mouth. Just make sure the paint is non toxic.

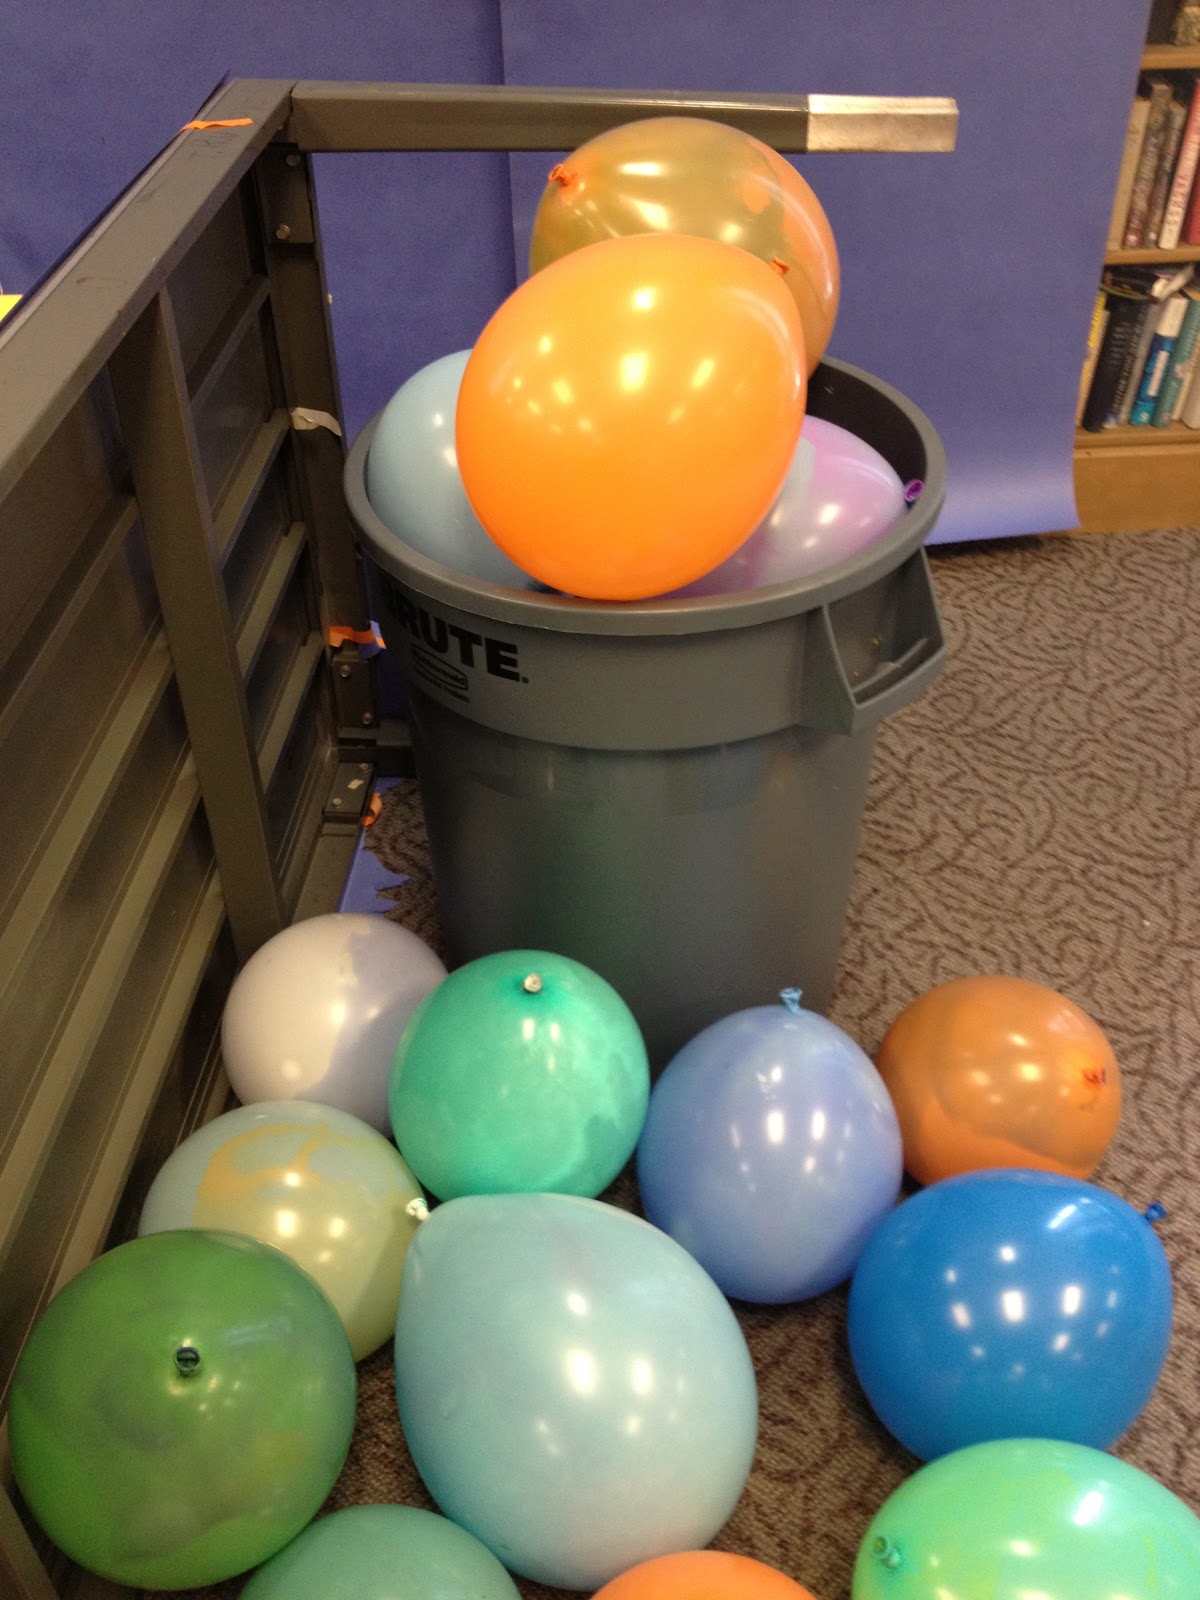
Also, a note on balloon size: bigger balloons mean a larger target for the kids, but it also means less paint per area in the eventual painting. My suggestion would be a 9" balloon. Save the 12" for pinatas and the 3" for water balloon fights.

Tape the paint filled balloons to the easel table.

Process:
We had a very long talk about safety before I gave anyone a dart. I made them line up, throw one at a time and only I was allowed to go retrieve the darts once they had been thrown. It worked out way better than i coudl ahve hoped for.

Standing behind the blast zone have the kids take turns throwing darts at the balloons. The first time through, I let each kid throw until they had popped one and then after that we went in turn. Everyone loved it. Like, loved it loved it. Like would have married it if possible loved it. We made three paintings with the balloons that I had previously blown up and they could have gone for hours. By our last painting, a lot of staff had wandered up and were staring at awe, so we ended up having a competition, staff vs. kids to see who could pop the most balloons. The staff won by one balloon, but I think the true winner was all the clean trash-talk the kids came up with.


Miss Lucy and Kid Art:

The top one is the splatter sheet that we had laying on the floor, it caught the flying paint and looked particularly beautiful to me.


The bottom two are the actual pieces of paper that had balloons attatched to them at one point.