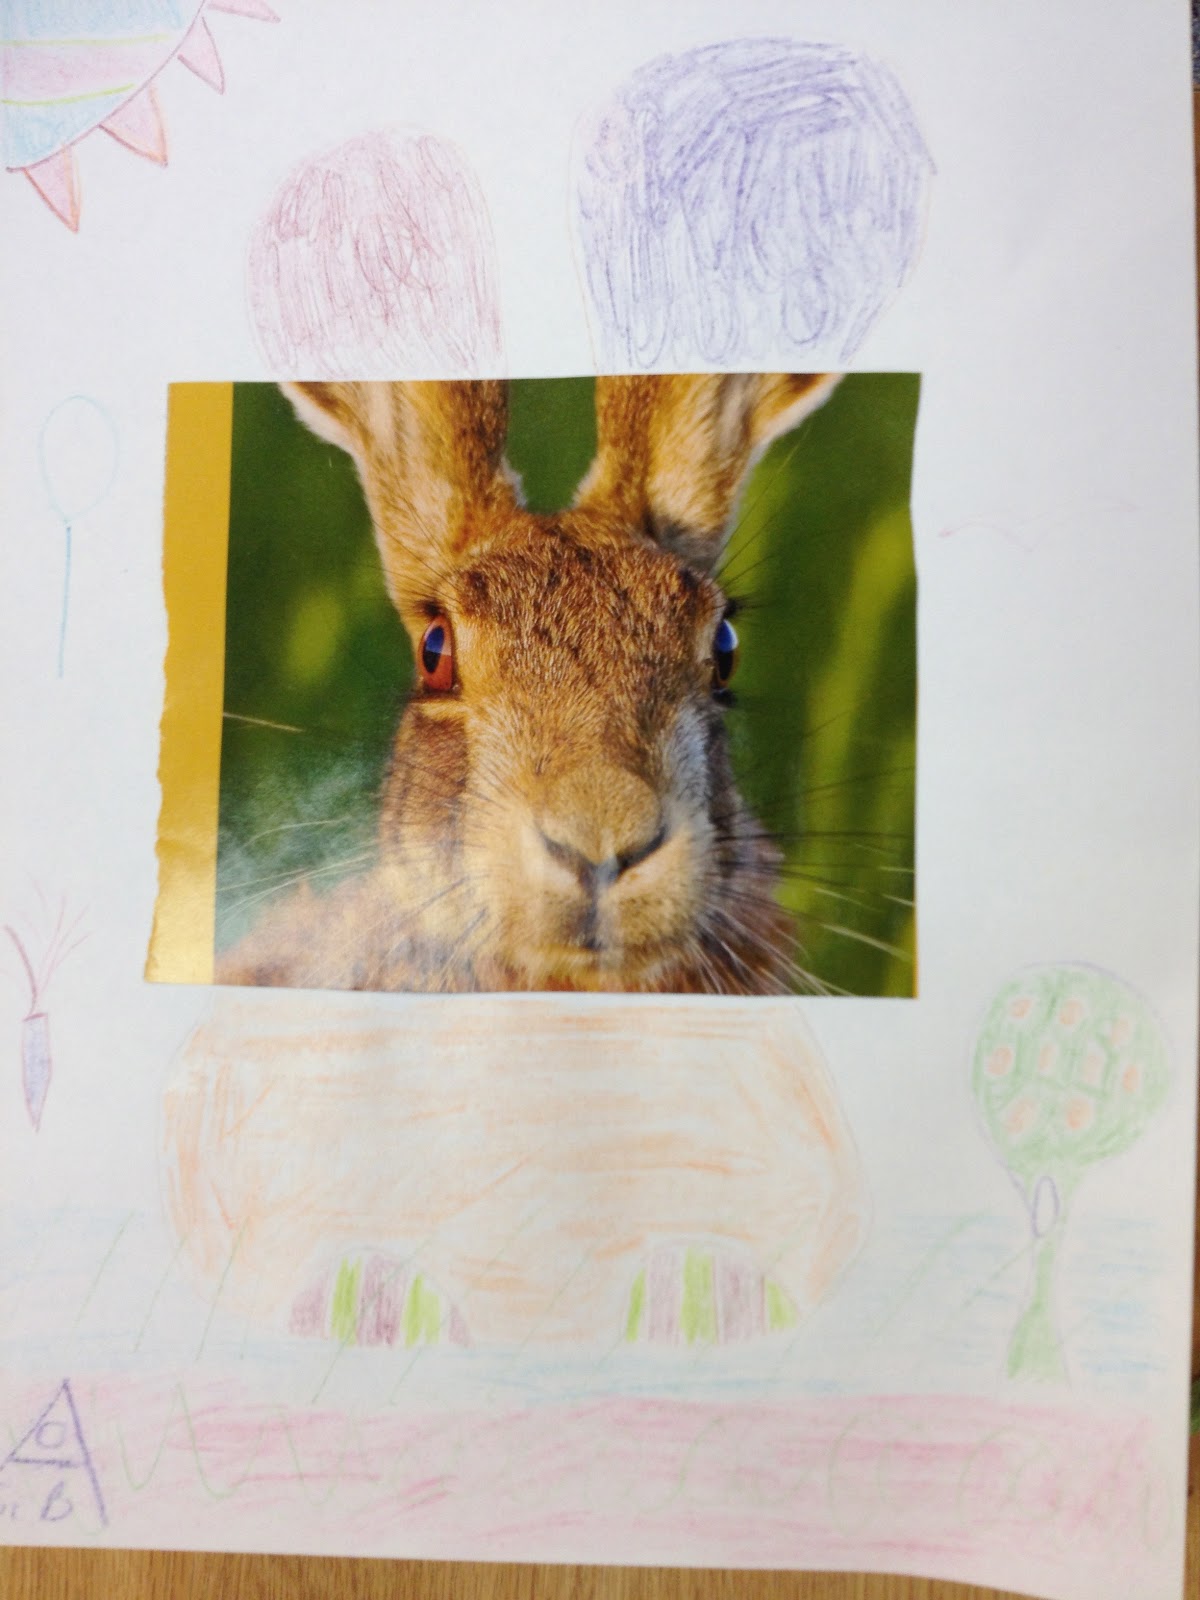
Staring at a blank page can be intimidating for any artist, be they 5 or 55. There are so many possibilities and (for me, at least) so many ways to go wrong. That's why I like this "Complete the Picture" exercise so much. There's plenty of room for creativity- why is that woman so excited? What is that rabbit running from?- but there's also some structure. There's a scale already in place and there are always easy things to complete- the woman's body, the sky above the rabbit- until that stroke of genius hits and you can fill in the rest of the page.


Supplies:
-magazines (prep)
-scissors (prep)
-glue sticks (prep)
-paper (prep)
-coloring supplies like colored pencils or markers
Prep:
Go through a magazine and cut out interesting photos. Crop them to no more than 5x6 squares. Try to crop them in interesting ways and so there's always something that can be directly continued from the picture. For example- the excited woman? awesome, draw her lower body. The rabbit running? I screwed up on that one.
Once you have your pictures, glue them onto larger sheets on paper. Experiment with the placement. They don't always have to be in the exact middle of the paper. Changing the placement may change the entire end result.
 If you have older kids, they can also do this part to find the exact picture that they want to continue. make sure you let them know that they can complete it in an entirely different way than it looks in its original setting.
Process:
Once a picture has been chosen, let the kids complete them however they want. my question is "What's happening in the white space?" If they're having a hard time coming up with something ask leading questions. What's happening in the actual picture that they do have? What is found near it/around it in the real world? In a dream world? What would be funny? What would be scary?
Miss Lucy's Example:

Kid (and Caretaker) Art:


No comments:
Post a Comment