Supplies:
-Styrofoam plates
-pencils
-ink (or paint will work if you don't have any)
-brayers (or foam brushes)
-paper
Prep:
Cut the lip off the plates so that they lay completely flat on the table.
Process:
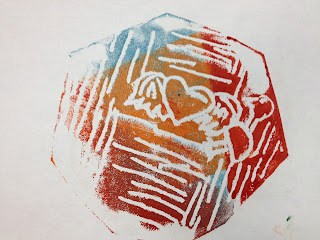
Using the pencil, press a design into the Styrofoam. Keep in mind that you'll be getting a mirror image, so if you use words write them out backwards. When the design is done, use the brayer or foam brush to roll ink or paint onto the surface. It should just go over the top, not seeping into the depressed parts where you used the pencil. Flip the plate over and press onto a piece of paper. Use a seperate brayer (or your hands) to press the plate down hard, transferring the ink/paint from the plate onto the paper. Pull back carefully. Repeat with as many colors as you like!
Miss Lucy's Example:

Kid Art:


No comments:
Post a Comment